Managing Subscribers
Learn how to add, organize, and manage your email subscribers with lists, tags, and segmentation.
Effective subscriber management is essential for successful email marketing. WP Outreach provides powerful tools to organize, segment, and manage your audience.
Subscriber Overview
Navigate to WP Outreach → Subscribers to access the subscriber management interface.
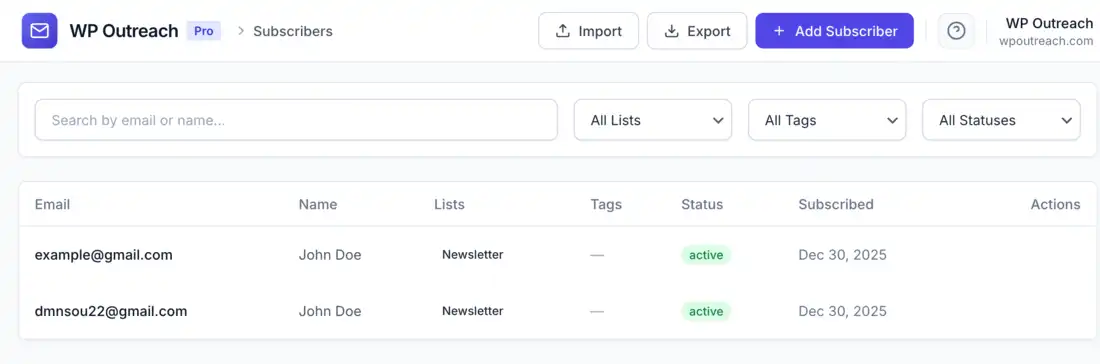
Subscriber Statuses
| Status | Description | Can Receive Emails? |
|---|---|---|
| ● Active | Confirmed and can receive emails | Yes |
| ● Pending | Awaiting email confirmation | No |
| ● Unsubscribed | Opted out of emails | No |
| ● Bounced | Email address is invalid | No |
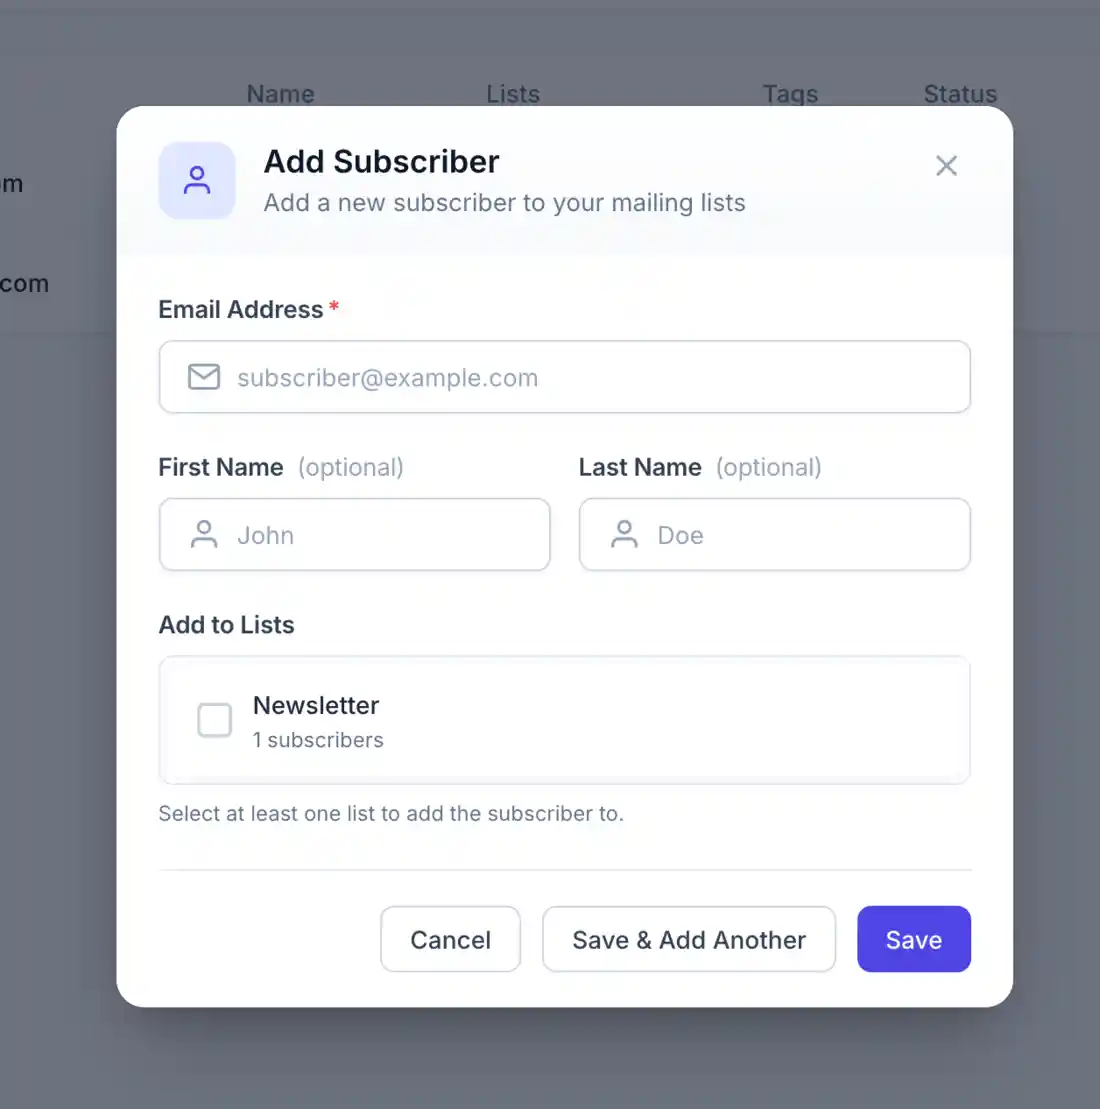
Adding Subscribers
Manual Entry
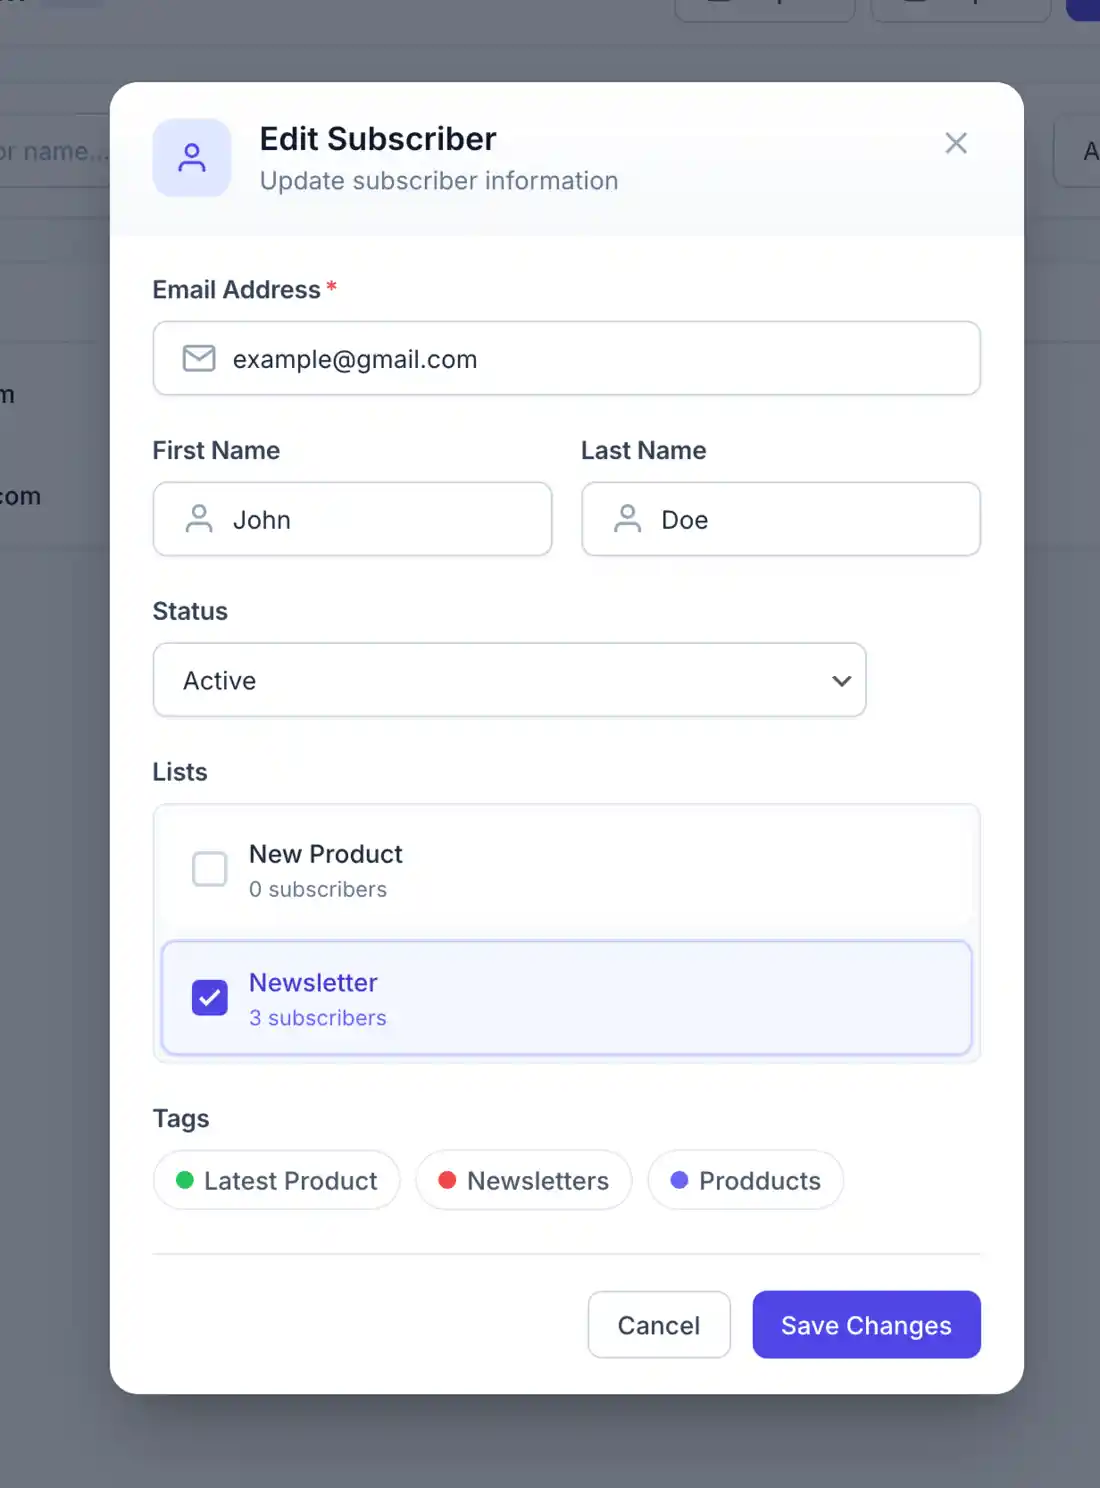
To add a single subscriber:
- Go to WP Outreach → Subscribers
- Click Add Subscriber
- Fill in the subscriber details:
- Email Address (required)
- First Name
- Last Name
- Status (Active, Pending, etc.)
- Select list memberships
- Add any tags
- Click Save Subscriber
CSV Import
For bulk importing:
- Prepare your CSV file with columns:
email(required)first_namelast_name- Any custom fields
- Go to WP Outreach → Subscribers
- Click Import
- Upload your CSV file
- Map CSV columns to subscriber fields
- Select the target list
- Choose import options:
- Update existing subscribers
- Skip duplicates
- Set status for new subscribers
- Click Import
# Example CSV format
email,first_name,last_name
john@example.com,John,Doe
jane@example.com,Jane,Smith
bob@example.com,Bob,Johnson
Subscription Forms
Allow visitors to subscribe themselves using shortcodes:
# Basic form
[*wp_outreach_form list="newsletter"]

# With custom fields
[*wp_outreach_form list="newsletter" fields="email,first_name"]

# Multiple lists
[*wp_outreach_form list="newsletter,updates"]

# Remove * when using short-codes
Lists
Lists help you organize subscribers into groups for targeted campaigns.
Creating Lists
- Go to WP Outreach → Lists
- Click Add New List
- Configure list settings:
- Name: Internal name for the list
- Description: Optional description
- Double Opt-in: Require email confirmation
- Public: Allow self-subscription
- Click Create List

Double Opt-in
When enabled for a list:
- Subscriber signs up via form
- Status is set to “Pending”
- Confirmation email is sent
- Subscriber clicks confirmation link
- Status changes to “Active”
Benefits:
- GDPR compliance
- Higher quality subscribers
- Reduced spam complaints
- Better deliverability
Managing List Members
Add subscribers to lists:
- From subscriber edit: Check the lists to add them to
- Bulk action: Select multiple subscribers → Add to List
- Via import: Specify target list during CSV import
- Via automation: Use “Add to List” action in workflows
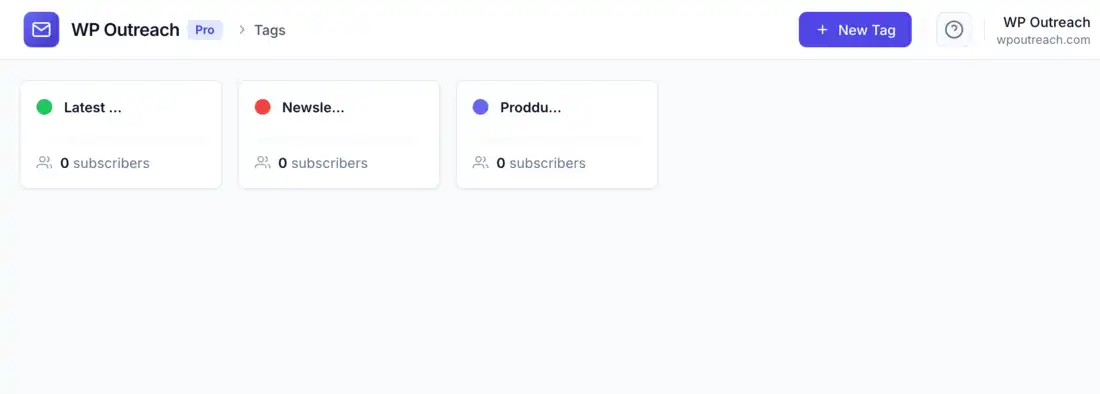
Tags
Tags provide flexible subscriber categorization beyond lists.
Creating Tags
- Go to WP Outreach → Tags
- Click Add New Tag
- Enter a tag name
- Choose a color (for visual identification)
- Click Create Tag
Tag Use Cases
| Tag Type | Examples | Use Case |
|---|---|---|
| Interest | WordPress, Marketing, Design | Content personalization |
| Behavior | Purchased, Downloaded, Webinar-Attended | Engagement tracking |
| Source | Facebook, Google, Referral | Acquisition tracking |
| Status | VIP, Lead, Customer | Lifecycle stages |
Applying Tags
- Manual: Edit subscriber and select tags
- Bulk: Select subscribers → Add Tag
- Automation: Trigger-based tag application
- Form: Auto-tag on subscription
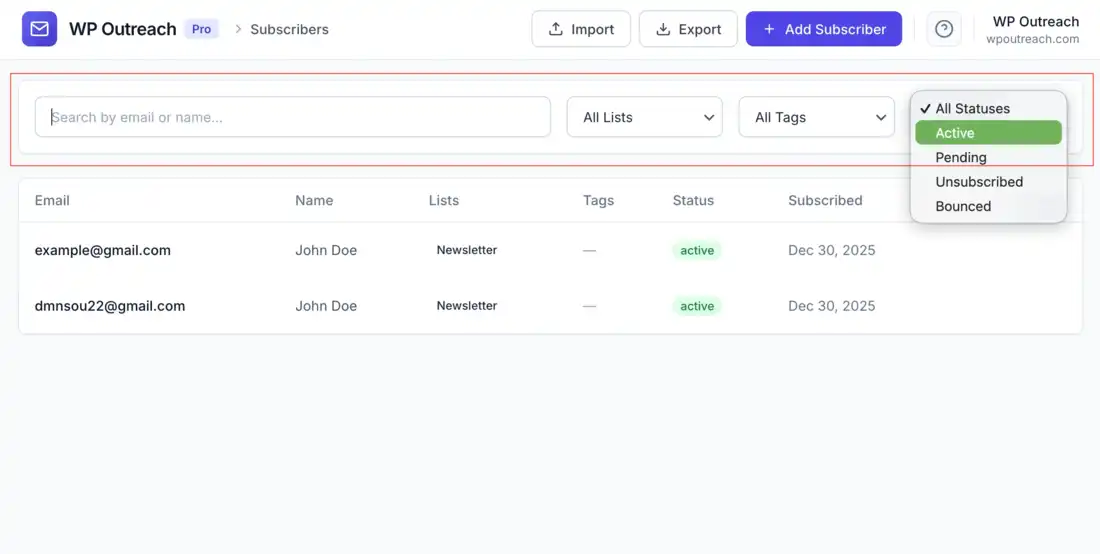
Filtering and Searching
Search
Use the search box to find subscribers by:
- Email address
- First name
- Last name
Filters
Filter the subscriber list by:
| Filter | Options |
|---|---|
| Status | Active, Pending, Unsubscribed, Bounced |
| List | Any list or specific list |
| Tag | Any tag or specific tag |
| Date Added | Date range picker |
Combine multiple filters for precise segmentation.
Bulk Operations
Perform actions on multiple subscribers at once:
- Select subscribers using checkboxes
- Choose a bulk action from the dropdown:
- Add to List
- Remove from List
- Add Tag
- Remove Tag
- Change Status
- Delete
- Click Apply
Subscriber Details
Click on any subscriber to view their complete profile:
Profile Information
- Contact information (email, name)
- Subscription status
- List memberships
- Assigned tags
- Custom field values
- Source (how they subscribed)
- IP address and location
Activity History
- Emails received
- Opens and clicks
- Subscription changes
- Tag additions/removals
- Automation enrollments
Custom Fields
Store additional information about subscribers using custom fields:
Defining Custom Fields
Custom fields are stored as JSON and can include any data:
- Company name
- Phone number
- Birthday
- Product interests
- Custom identifiers
Using Custom Fields
Custom fields can be used in:
- Email personalization:
{{ company_name }} - Segmentation: Filter by field values
- Automation conditions: Trigger based on field values
Unsubscribes and Bounces
Handling Unsubscribes
When a subscriber unsubscribes:
- Status changes to “Unsubscribed”
- They are excluded from all future campaigns
- You cannot manually change them back to Active (CAN-SPAM compliance)
- They can re-subscribe themselves via a form
Managing Bounces
Bounced emails are automatically handled:
- Hard bounces: Invalid addresses are marked as Bounced
- Soft bounces: Temporary failures retry automatically
- Bounced subscribers are excluded from campaigns
Best Practices
List Hygiene
- Regularly clean inactive subscribers
- Remove bounced emails
- Re-engagement campaigns for dormant subscribers
- Never purchase email lists
Segmentation Strategy
- Use lists for broad categories
- Use tags for detailed attributes
- Combine both for targeted campaigns
- Keep tag names consistent and meaningful
GDPR Compliance
- Use double opt-in for EU subscribers
- Honor unsubscribe requests immediately
- Keep records of consent
- Provide data export capability
Last updated: January 4, 2026