Email Campaigns
Create and send beautiful email campaigns to your subscribers with multiple campaign types and scheduling options.
Email campaigns are the core of WP Outreach. Whether you are sending a one-time newsletter, scheduling future emails, or setting up recurring updates, this guide covers everything you need to know.
Campaign Types
WP Outreach supports three types of campaigns:
One-Time Campaigns
Send immediately or queue for immediate processing. Perfect for:
- Announcements and news
- Product launches
- One-off promotions
- Event invitations
Scheduled Campaigns
Schedule to send at a specific date and time. Ideal for:
- Time-sensitive promotions
- Holiday campaigns
- Launch sequences
- Global audience timing optimization
Recurring Campaigns
Automatically send on a schedule (daily, weekly, monthly). Great for:
- Weekly newsletters
- Monthly roundups
- Digest emails
- Regular updates
Creating a Campaign
Step 1: Start a New Campaign
- Go to WP Outreach → Campaigns
- Click the Create Campaign button
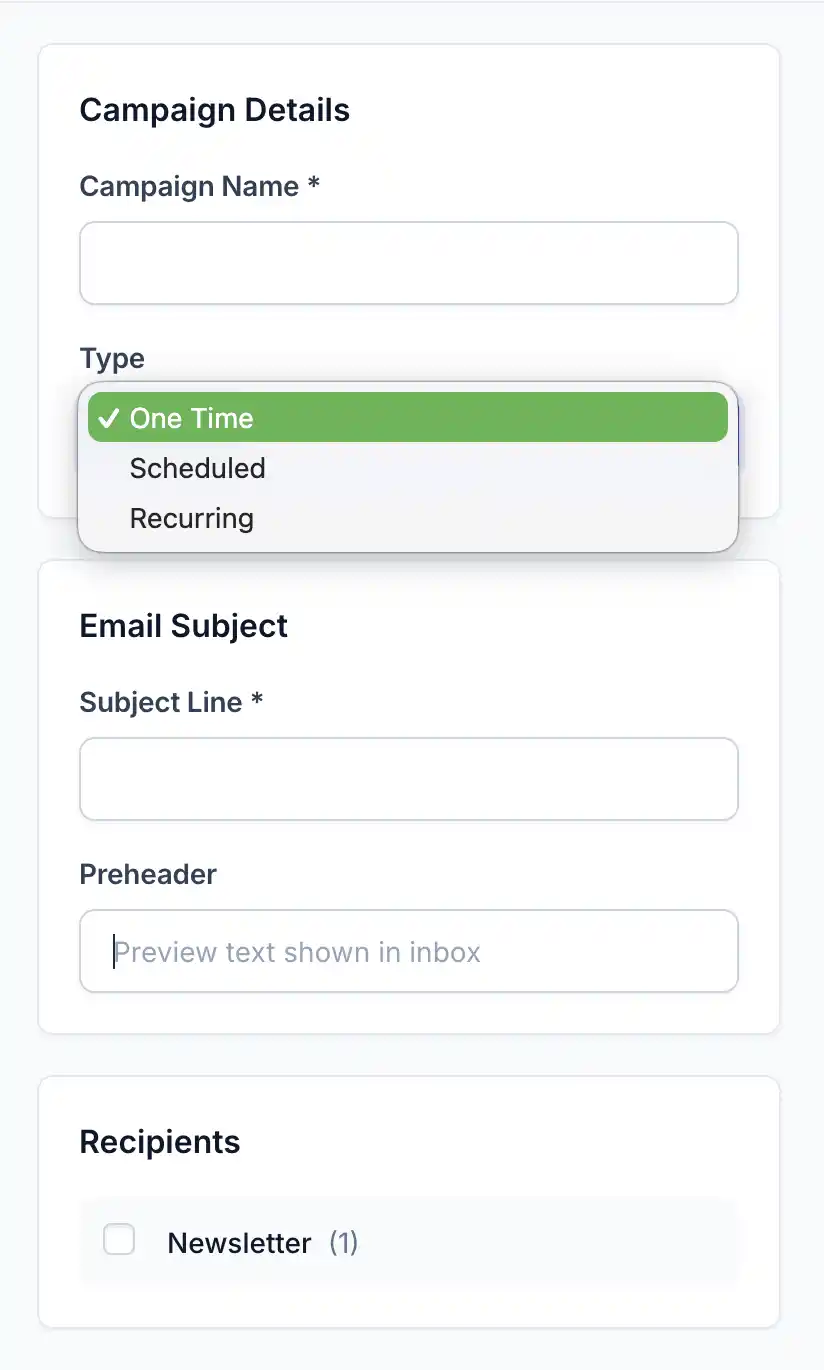
- Enter an internal campaign name (subscribers will not see this)
- Select the campaign type
- Click Continue
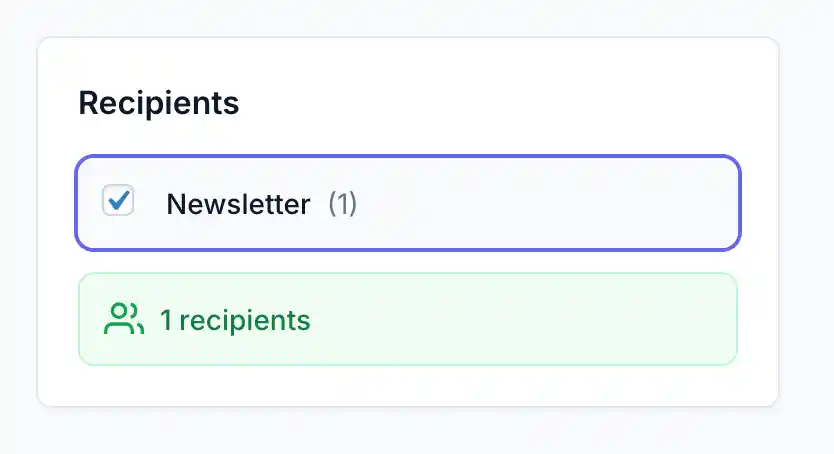
Step 2: Configure Recipients
Choose who will receive your campaign:
- Select Lists: Choose one or more subscriber lists
- Select Tags: Optionally filter by tags for more precise targeting
- Estimated Recipients: See the total number of subscribers who will receive the email
Note: Only active subscribers will receive emails. Subscribers with pending, unsubscribed, or bounced status are automatically excluded.
Step 3: Write Your Email
Configure the email content:
| Field | Description | Tips |
|---|---|---|
| Subject Line | The email subject recipients see | Keep under 50 characters, be compelling |
| Preheader | Preview text shown after subject | Expand on the subject, 40-100 characters |
| From Name | Sender name (optional override) | Use recognizable name or brand |
| From Email | Sender email (optional override) | Must be verified if using SES |
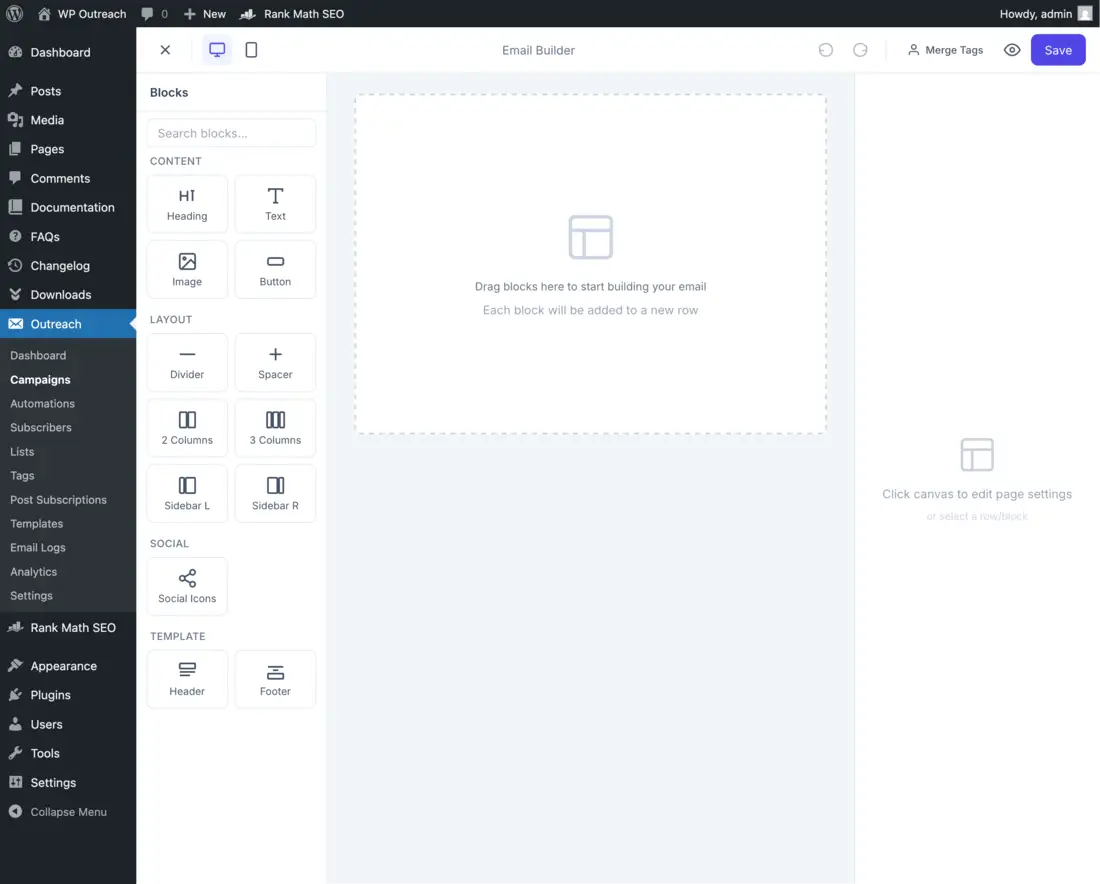
Step 4: Design with the Email Builder
Click Design Email to open the visual editor, or select a pre-built template to start with a design.
The email builder includes:
- Block Palette: Drag and drop content blocks
- Row Layouts: Choose from 8 column arrangements
- Styling Options: Colors, fonts, spacing, backgrounds
- Mobile Preview: See how it looks on phones
See the Email Templates guide for detailed builder instructions.
Scheduling Options
Scheduled Campaigns
When creating a scheduled campaign:
- Select Scheduled as the campaign type
- Choose the date and time to send
- Select your timezone
- Save the campaign
The campaign will automatically send at the scheduled time via WordPress cron.
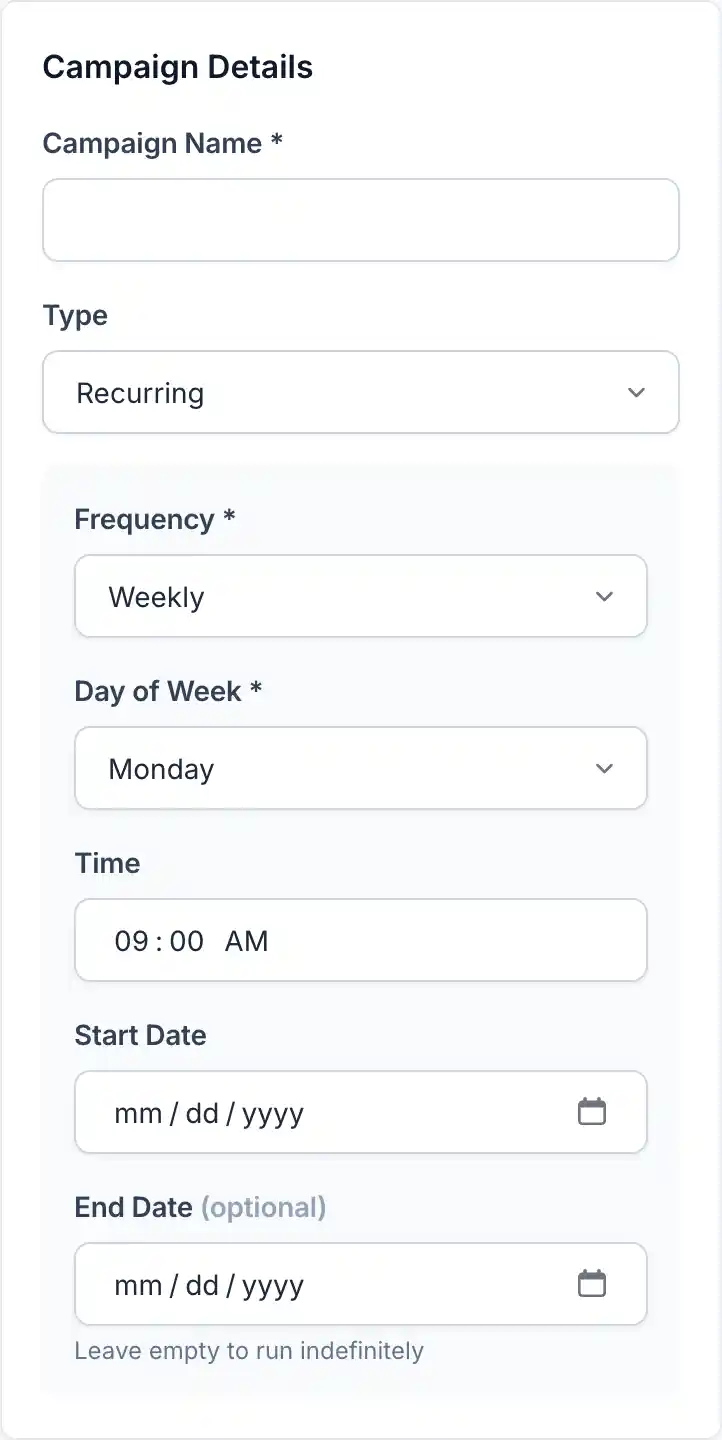
Recurring Campaign Configuration
For recurring campaigns, configure:
| Setting | Options | Description |
|---|---|---|
| Frequency | Daily, Weekly, Monthly | How often to send |
| Day of Week | Mon-Sun (for weekly) | Which day to send |
| Day of Month | 1-28 (for monthly) | Which date to send |
| Send Time | HH:MM | Time of day to send |
| Start Date | Date picker | When to begin sending |
| End Date | Date picker (optional) | When to stop (leave blank for indefinite) |
Sending Campaigns
Test Before Sending
Always send a test email first:
- Click Send Test Email
- Enter one or more email addresses (comma-separated)
- Click Send Test
- Check the test email in your inbox
- Verify links, images, and formatting
- Test on different email clients if possible
Sending the Campaign
When you are ready:
- Click Send Campaign
- Review the confirmation dialog:
- Recipient count
- Subject line
- Sender information
- Click Confirm & Send
The campaign enters the queue and emails are sent in batches via background processing.
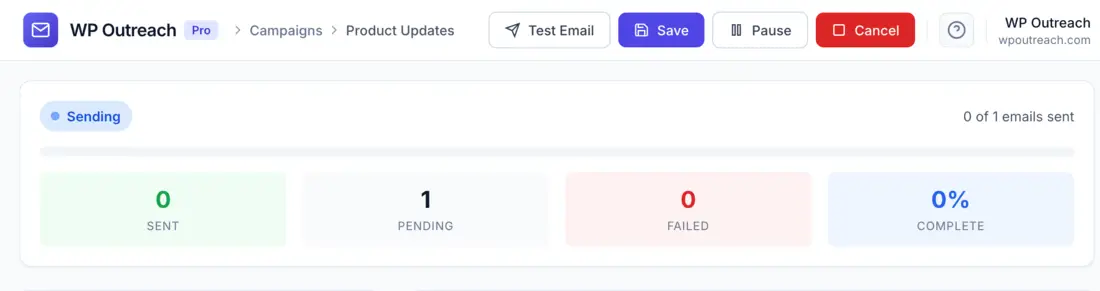
Monitoring Progress
While a campaign is sending:
- Status shows as Sending
- Progress bar shows percentage complete
- Real-time counts: Sent, Pending, Failed
- Estimated time remaining
Campaign Management
Pause and Resume
If you need to stop a campaign mid-send:
- Click the Pause button on the campaign
- Remaining emails stay in the queue
- Click Resume when ready to continue
Cancel a Campaign
To permanently stop a campaign:
- Click the Cancel button
- Confirm the cancellation
- Unsent emails are removed from the queue
- Already-sent emails cannot be recalled
Duplicate a Campaign
Quickly create a similar campaign:
- Find the campaign in the list
- Click the Duplicate icon
- A new draft is created with copied settings
- Modify as needed and send
Campaign Statistics
After sending, view detailed analytics:
- Go to WP Outreach → Campaigns
- Click on the campaign name
- Select the Statistics tab
Key Metrics
| Metric | Description | Industry Average |
|---|---|---|
| Open Rate | % of recipients who opened | 15-25% |
| Click Rate | % of recipients who clicked | 2-5% |
| Click-to-Open Rate | % of openers who clicked | 10-20% |
| Unsubscribe Rate | % who unsubscribed | <0.5% |
| Bounce Rate | % of undeliverable emails | <2% |
Link Performance
See which links received the most clicks:
- URL of each link
- Total clicks
- Unique clicks
- Click percentage
Recipient Details
View individual recipient activity:
- Email address
- Delivery status
- Open count and timestamps
- Clicked links

Best Practices
Subject Lines
- Keep under 50 characters for mobile display
- Use action words and create urgency
- Avoid spam trigger words (FREE, URGENT, etc.)
- Personalize when appropriate: “John, check this out”
- A/B test different approaches
Timing
- B2B: Tuesday-Thursday, 10am-2pm
- B2C: Evenings and weekends often perform well
- Consider your audience timezone
- Test different send times to find your optimal window
Content
- Keep emails focused on one main topic
- Use clear call-to-action buttons
- Optimize images for fast loading
- Always include an unsubscribe link
- Test on multiple email clients
Last updated: January 4, 2026